Tired of wobbly shelves and crooked doors? This expert guide will turn you into an RTA assembly master.
So, you’ve just brought home a shiny new RTA wardrobe (Ready-to-Assemble wardrobe). It’s a smart choice—cost-effective, stylish, and perfect for your DIY spirit. But before you get to the satisfying part of hanging your clothes, there’s the assembly.
Anyone who’s been there knows the drill: a thousand little screws, confusing diagrams, and that moment of panic when you realize a piece is missing or the doors don’t align. But what if you could bypass the common pitfalls and build your new wardrobe with the confidence of a pro?
This comprehensive guide is your secret weapon. We’ll walk you through every step, from pre-assembly preparation to long-term maintenance, ensuring your wardrobe is sturdy, beautiful, and lasts for years.
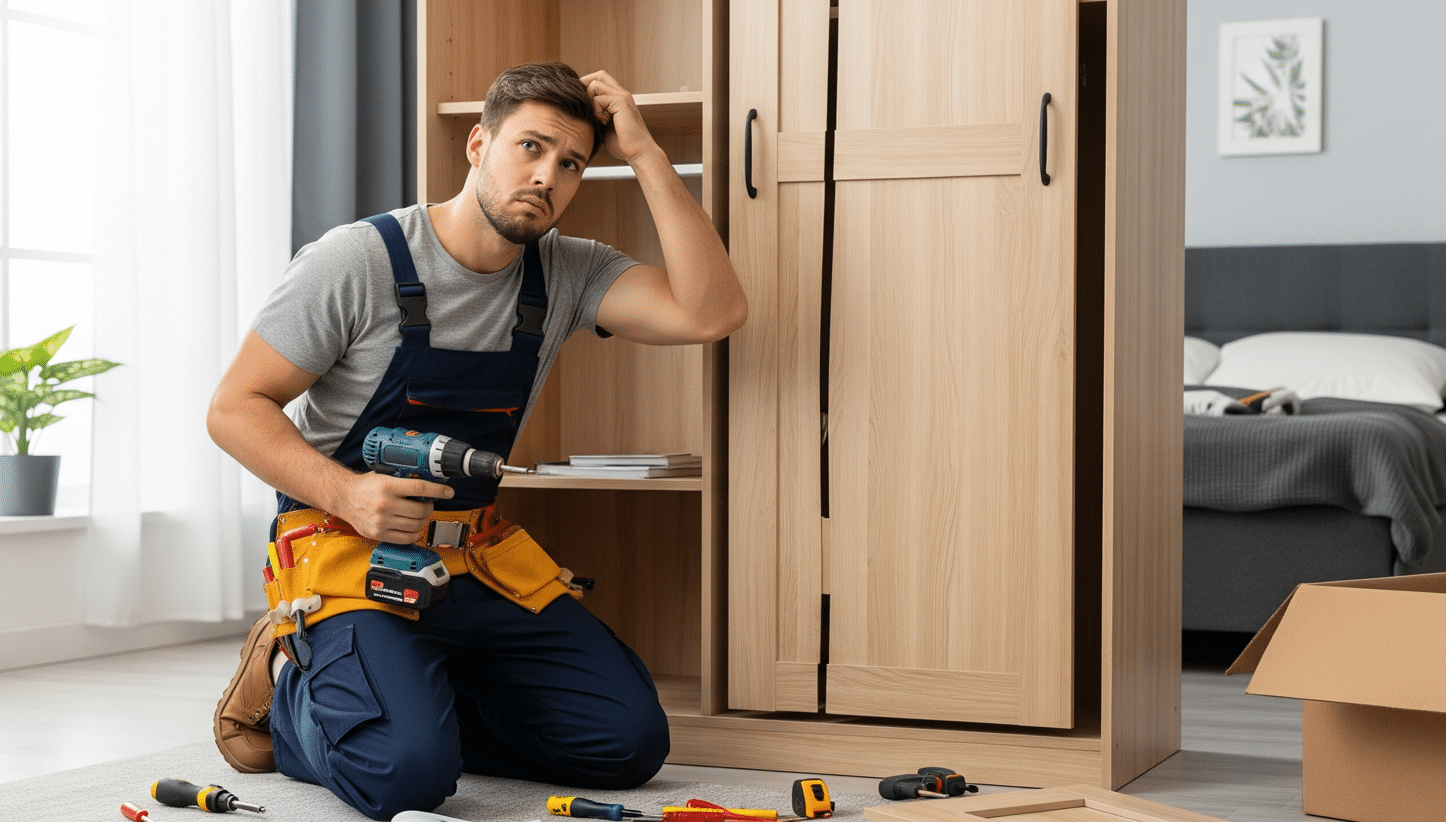
The First Step to Success - Pre-Assembly Prep
Failing to plan is planning to fail. Don’t let a lack of preparation derail your project before it even begins.
Problem: Insufficient Pre-Assembly Preparation
This problem manifests in several ways: you might find yourself with missing parts, mismatched tools, or realize the space is too small halfway through the assembly process. To avoid these issues, take inventory first. Lay out and count every single part. Compare them against the provided checklist and sort screws and hardware into labeled containers. Next, let the materials acclimate. Place the flat-packed boxes in the assembly area for at least 24 hours.
This allows the wood to adjust to the room’s temperature and humidity, which prevents warping and makes assembly smoother. Finally, gather the right tools. Go beyond the basic Allen key. A power drill with torque control, a level, a tape measure, and a rubber mallet are essential for a professional finish.
Mastering the Core Assembly Challenges
This is where most people hit a wall. Here’s how to overcome the most common obstacles.
Problem: The Cabinet Is Wobbly or Unstable
This is a common issue where the wardrobe sways or joints feel loose after assembly. To fix it, you need to tighten and reinforce everything. Double-check that all screws and connectors are fully tightened. For critical stress points, you can add a drop of wood glue to dowel connections before screwing, or use clamps to hold the joint tight while you screw it. Next, and this is a non-negotiable safety step, anchor the unit to the wall. For tall wardrobes, use the provided hardware to anchor the unit to wall studs. This prevents tipping and adds significant stability.
Problem: Misaligned Doors or Sticky Hinges
The symptoms of this problem are uneven gaps between doors, or doors that rub or won’t close completely. The key is to adjust the hinges. Most hinges have three adjustment screws that control the door’s vertical, horizontal, and depth position. A little patience and a Phillips screwdriver can work wonders. Make small adjustments and check alignment often. For a perfect start, use a level. Before attaching the doors, use a laser or bubble level to mark a baseline for your top hinges. This ensures all your doors are perfectly level from the start.
Problem: Drawers That Stick or Slide Out
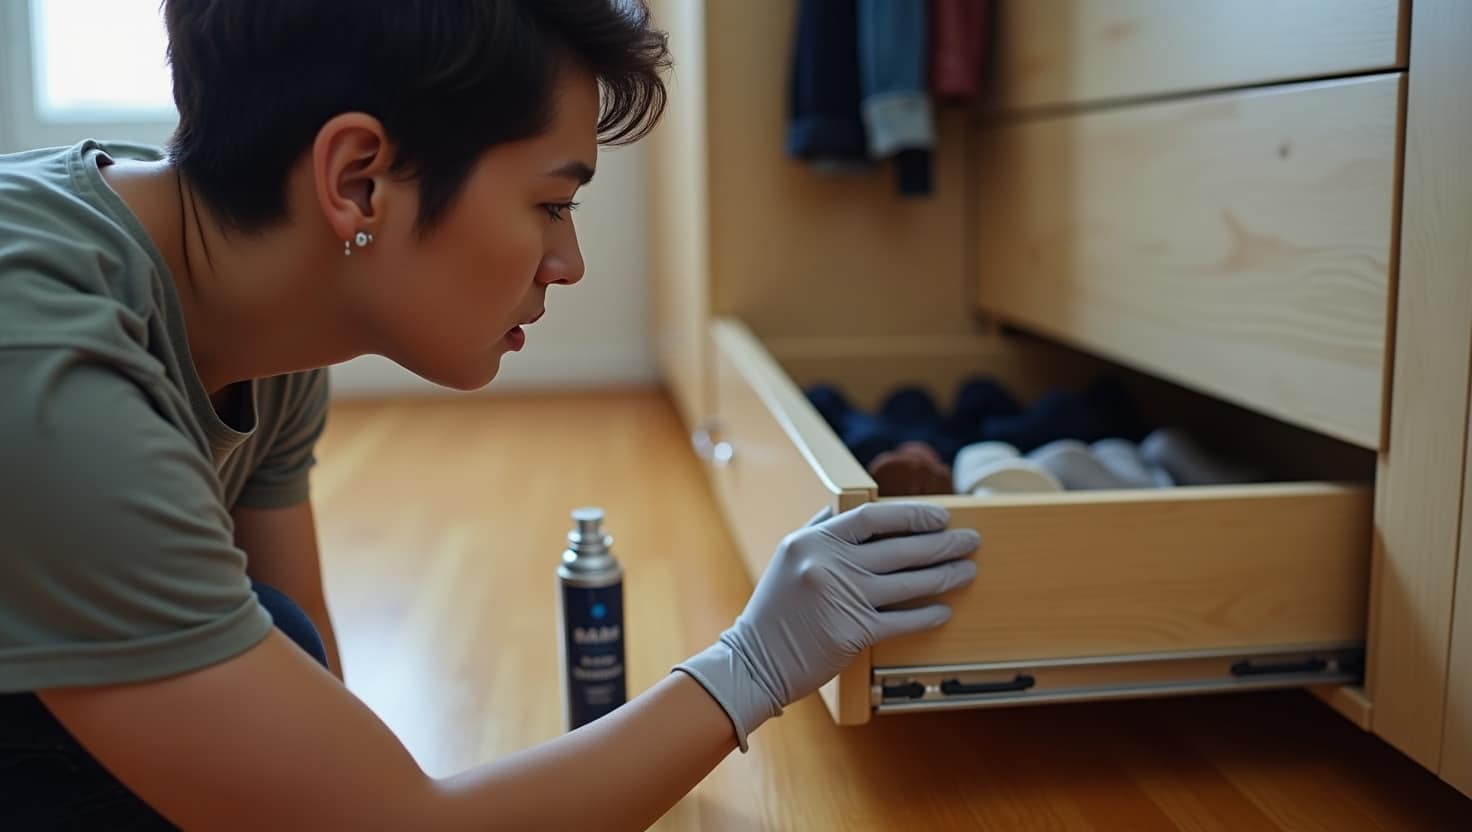
This issue presents as rough sliding, grinding noises, or drawers that creep open on their own. To troubleshoot, check for debris by using a flashlight to inspect the tracks for dust or small bits of wood. Also, check for level. An incline of even a few millimeters can cause the drawer to slide out on its own. To solve these issues, you need to calibrate the tracks. Make sure the left and right runners are perfectly parallel and level; a single millimeter of error can cause issues. Clean and lubricate the tracks by wiping them down and applying a silicone-based lubricant (never use an oil-based one, which attracts dust). Lastly, install the stopper clips that came with the hardware to the end of the tracks to prevent the drawer from sliding out.
Problem: Cracked or Chipped Boards
This problem occurs when small cracks appear on the board’s surface or veneer edges peel during assembly. To prevent this, pilot holes are the key. Before driving a screw, use a drill bit slightly smaller than the screw’s diameter to create a pilot hole. This prevents the wood from splitting, especially at edges. For small cracks, use a bit of wood glue. For peeling veneer, an iron and a thin cloth can sometimes re-adhere the surface.
Have a project in mind? Send a message.
Get the catalog for free
Details and Maintenance for Longevity
Problem: Misaligned Handles
Problem: Inadequate Storage
This problem manifests as unorganized piles of clothes and wasted space. To fix it, add layers to maximize vertical space with extra shelves, wire baskets, or pull-out drawers. Also, use the doors by installing hooks, organizers, or a jewelry rack on the inside of your doors.
Problem: Odor or Environmental Concerns
This problem is a strong chemical smell from the new wardrobe. To fix it, ventilate thoroughly by placing the wardrobe in a well-ventilated room for several days before use. You can also use absorbents. Place activated charcoal bags or an air purifier inside to absorb any lingering odors.

Long-Term RTA Wardrobe Maintenance & When to Call a Pro
Problem: Loose Screws or Damaged Hardware
Problem: When to Seek Professional Help

Elevate Your Home with Professional Expertise
Contact NextHome Now!
We are here to help you with your business needs. We have a team of experts who are always eager to help you.


